Bench Build
Jacob Lewallen 1135 words 6 min read April 25, 2014 #woodworkingAfter watching Paul Sellers’ build a workbench on YouTube I was convinced that was the way to go for my first serious bench. It had everything I wanted, from mobility and stability to inexpensive materials. It seemed like such a low risk endeavor with so much learning potential that I just couldn’t convince myself to go any other way. I knew that because of my upcoming move a full length bench would be a risky commitment and so decided to go with a 4′ version.
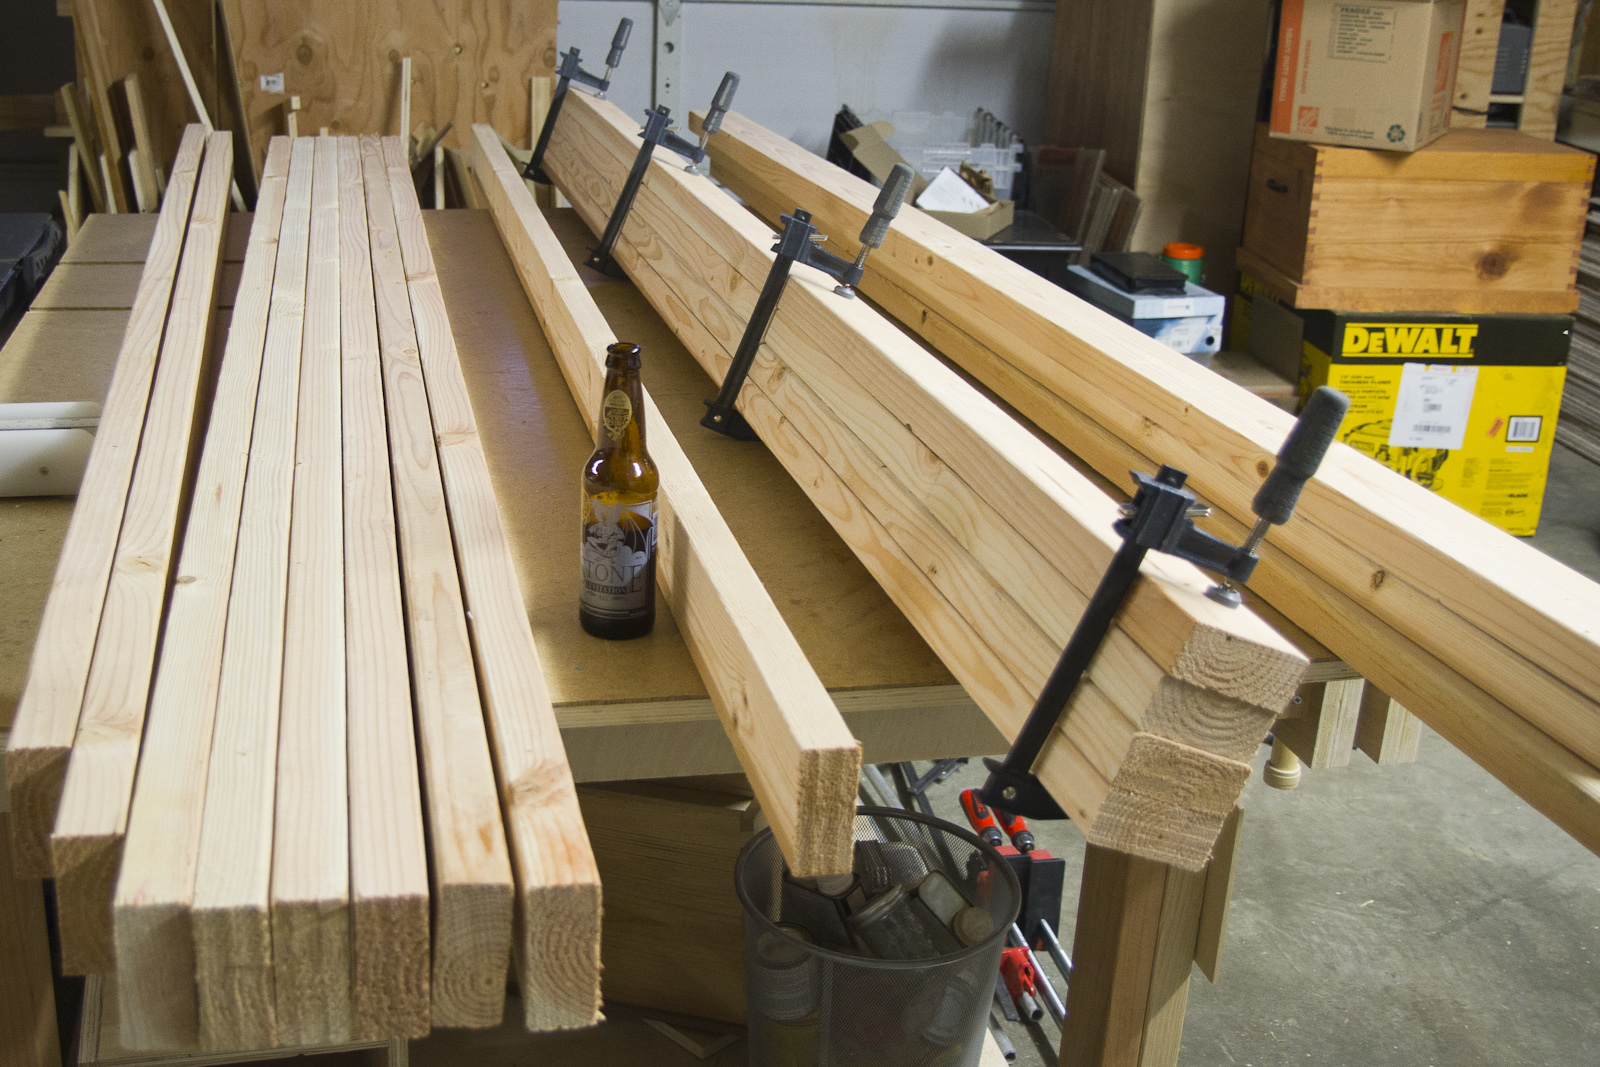
I started at my local big box store, hunting for good boards. The only kiln dried lumber my local store sells is 2x4x8 whitewood. I poured over them for a while picking out the straightest and clearest boards. I knew I needed 6-8 boards with clear narrow edges for the top and 6 boards with clear faces for aprons and the well. I did my best to find 4 other clear everywhere boards for the legs. This part simply went OK. If I had more time I might try and do this in multiple trips, buying boards for the top in one trip and legs in another, for example. Even though I had access to a new pallet, I found it difficult to find that many solid picks. I did overbuy as well, which turned out to be a good idea.
I did all the dimensioning on this project using power tools and all of the joinery using hand tools. I’m slowly building my hand tool arsenal and didn’t feel prepared to work all the boards down by hand.
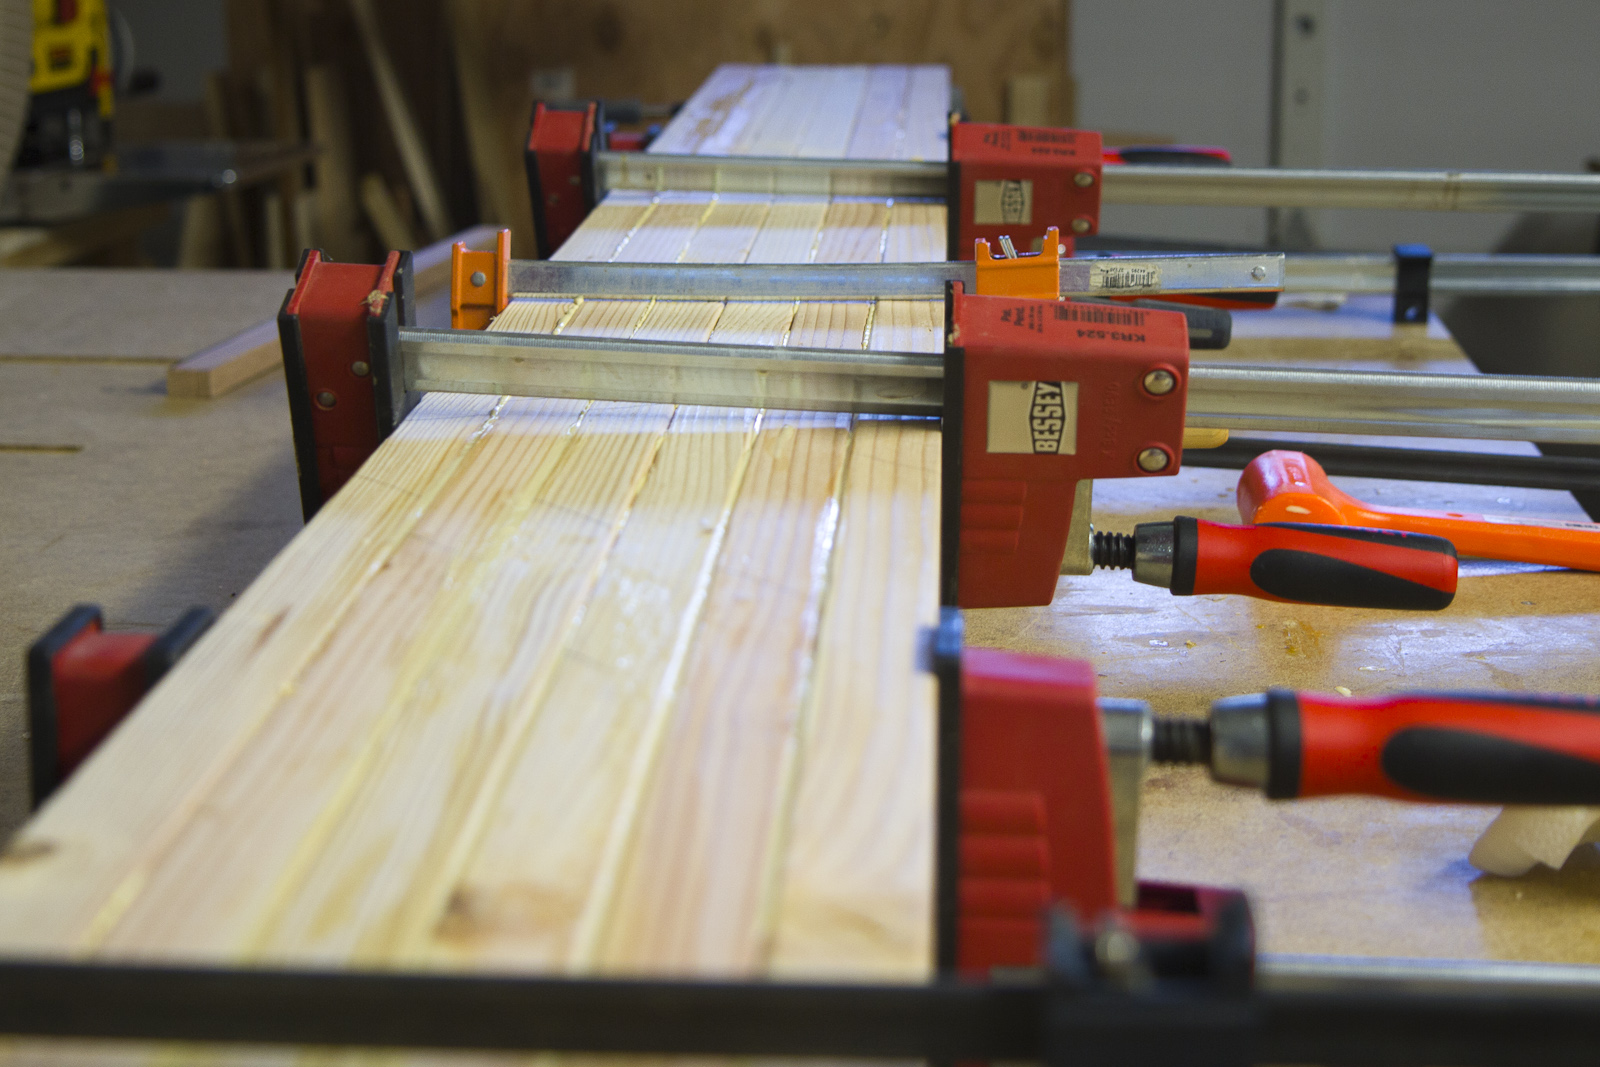
First, I ran all the boards through my planer, eliminating a bulk of the easing on the edges. Next, I started gluing a few things up, including the top, then the legs and then the well board and aprons. In the future, I would glue the top up and then the legs and only glue the aprons/well after I had assembled the legs. My aprons ended up slightly warped and I feel like waiting may have given me the chance to avoid that.
I crosscut the 8 foot pieces down to 4 using a sled on my table saw. I had to flip the top over to get all the way through and it turned out just fine. In fact I also did this to trim the rough ends off and was surprised at my ability to get a flush cut after flipping over.
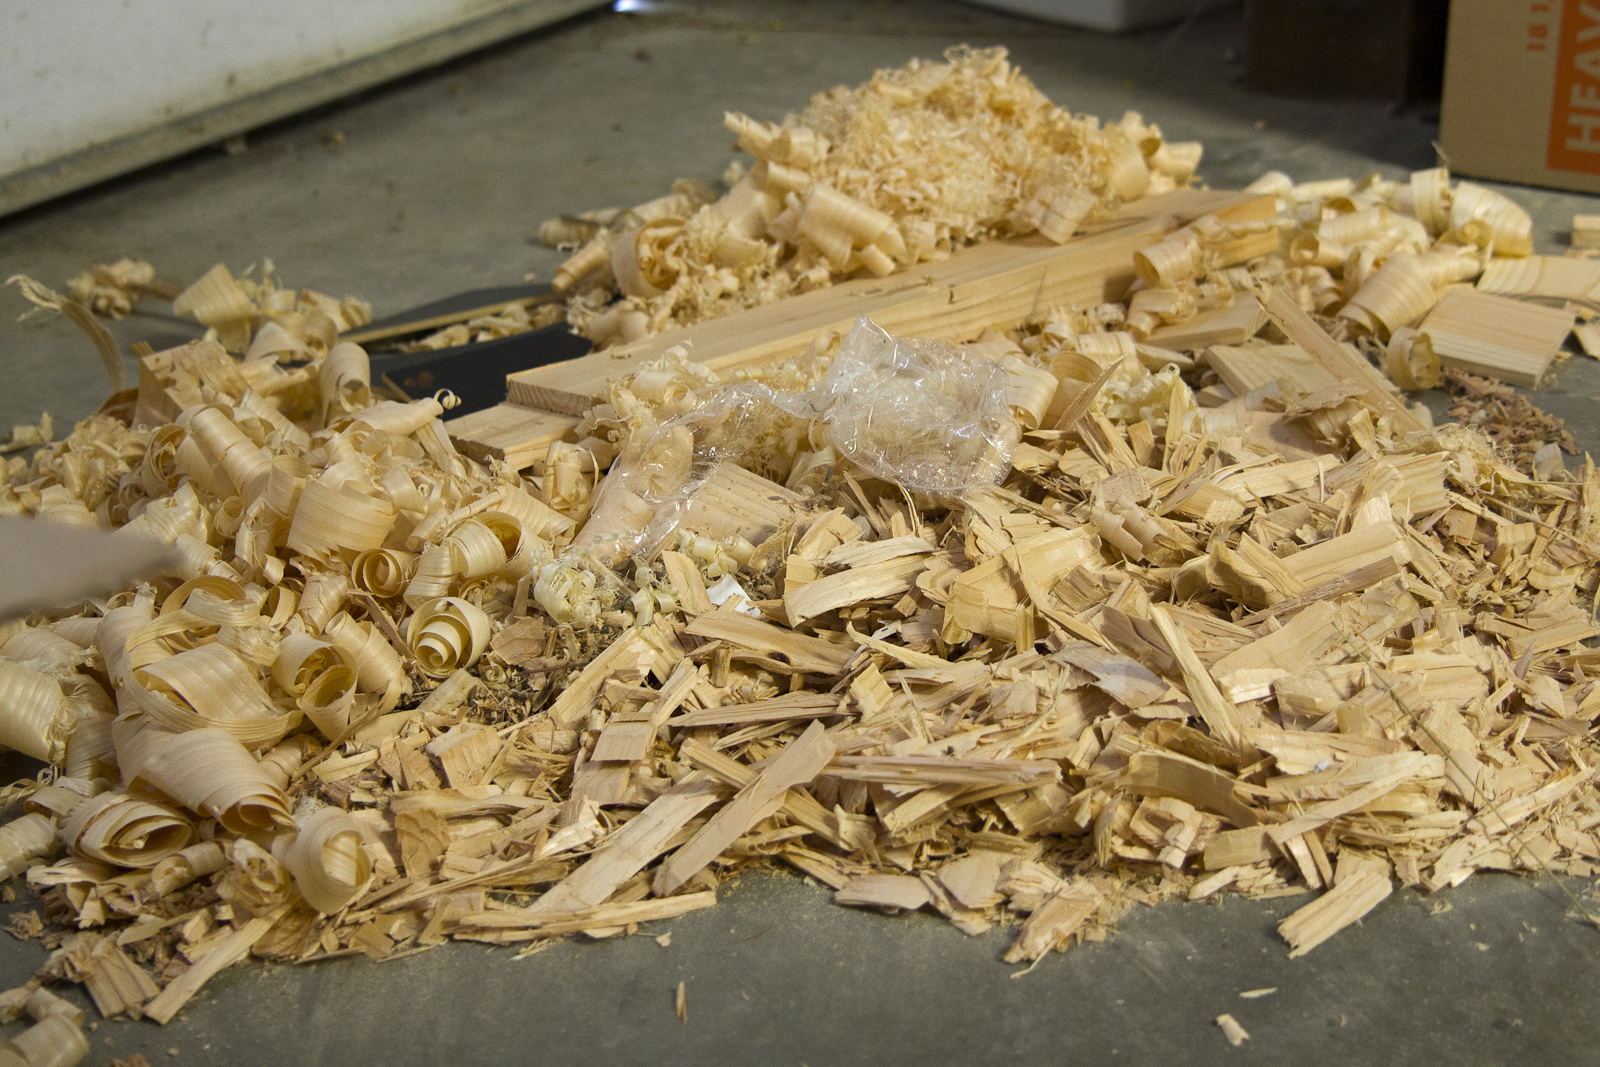
After gluing up the legs, I cut them to length and started the mortises for the tenons. I didn’t get any pictures of this, which may be a testament to the job that I did on them. The first two were horrible and I quickly learned (despite Paul saying so) that I should flip them over and mortise from both sides. When the first mortise blew out around a knot there was a moment of panic and then a calming clarity that comes from knowing that I could just make that the inside face and hide the ugliness with the tenon. The others went better and I was feeling pretty good by the end of the fourth and then I realized there were four more. It was tough work. I did sharpen my chisel twice, but no matter how hard I tried I couldn’t drive the chisel as deeply as I felt I should be able to. Sometimes it would only go 1/16th in, sometimes 1/8th in. I used the same technique Paul did, and it’s important that even if you aren’t able to make the same kind of progress you still stick with the motions as it makes for a cleaner mortise than if you go rouge with your own approach. For example, one time I tried drilling some material out and didn’t feel that helped speed things at all.
Cutting the tenons went terrifically. I used my Lee Valley Tenon saw and was able to cut all eight extremely quick. The key here was to mark them out first and then cut them. I find that in general if I mark and then cut and mark and then cut it’s considerably slower than if I mark them all and then cut them all.
Fit went smoothly enough. I did some minor sanding and chiseling to get things to fit, but I wasn’t pleased to see so many gaps. All said and done, when they were glued up I was happy to see that they were square, but I definitely need to work on my through mortise and tenons. It was my first attempt at doing them by hand and I definitely learned a few things.
While the legs glued up I started on the aprons. My aprons ended up twisted a bit but I put the worse one in the “back” and started on the housing dados. This is another situation where I’m not sure how much to attribute my struggle to the wood, tools or my technique. I felt like I approached the problem the same as Paul did in the video but ended up with very uneven dado bottoms. I did make a Poor Man’s Router and that helped, as my Lee Valley router plane wasn’t wide enough to work comfortably.

I would estimate that the work on the major joinery on the bench took me about a week working a few hours a day.
Next came the wedges, which were straightforward to make. I used some Red Oak I had lying around for mine.
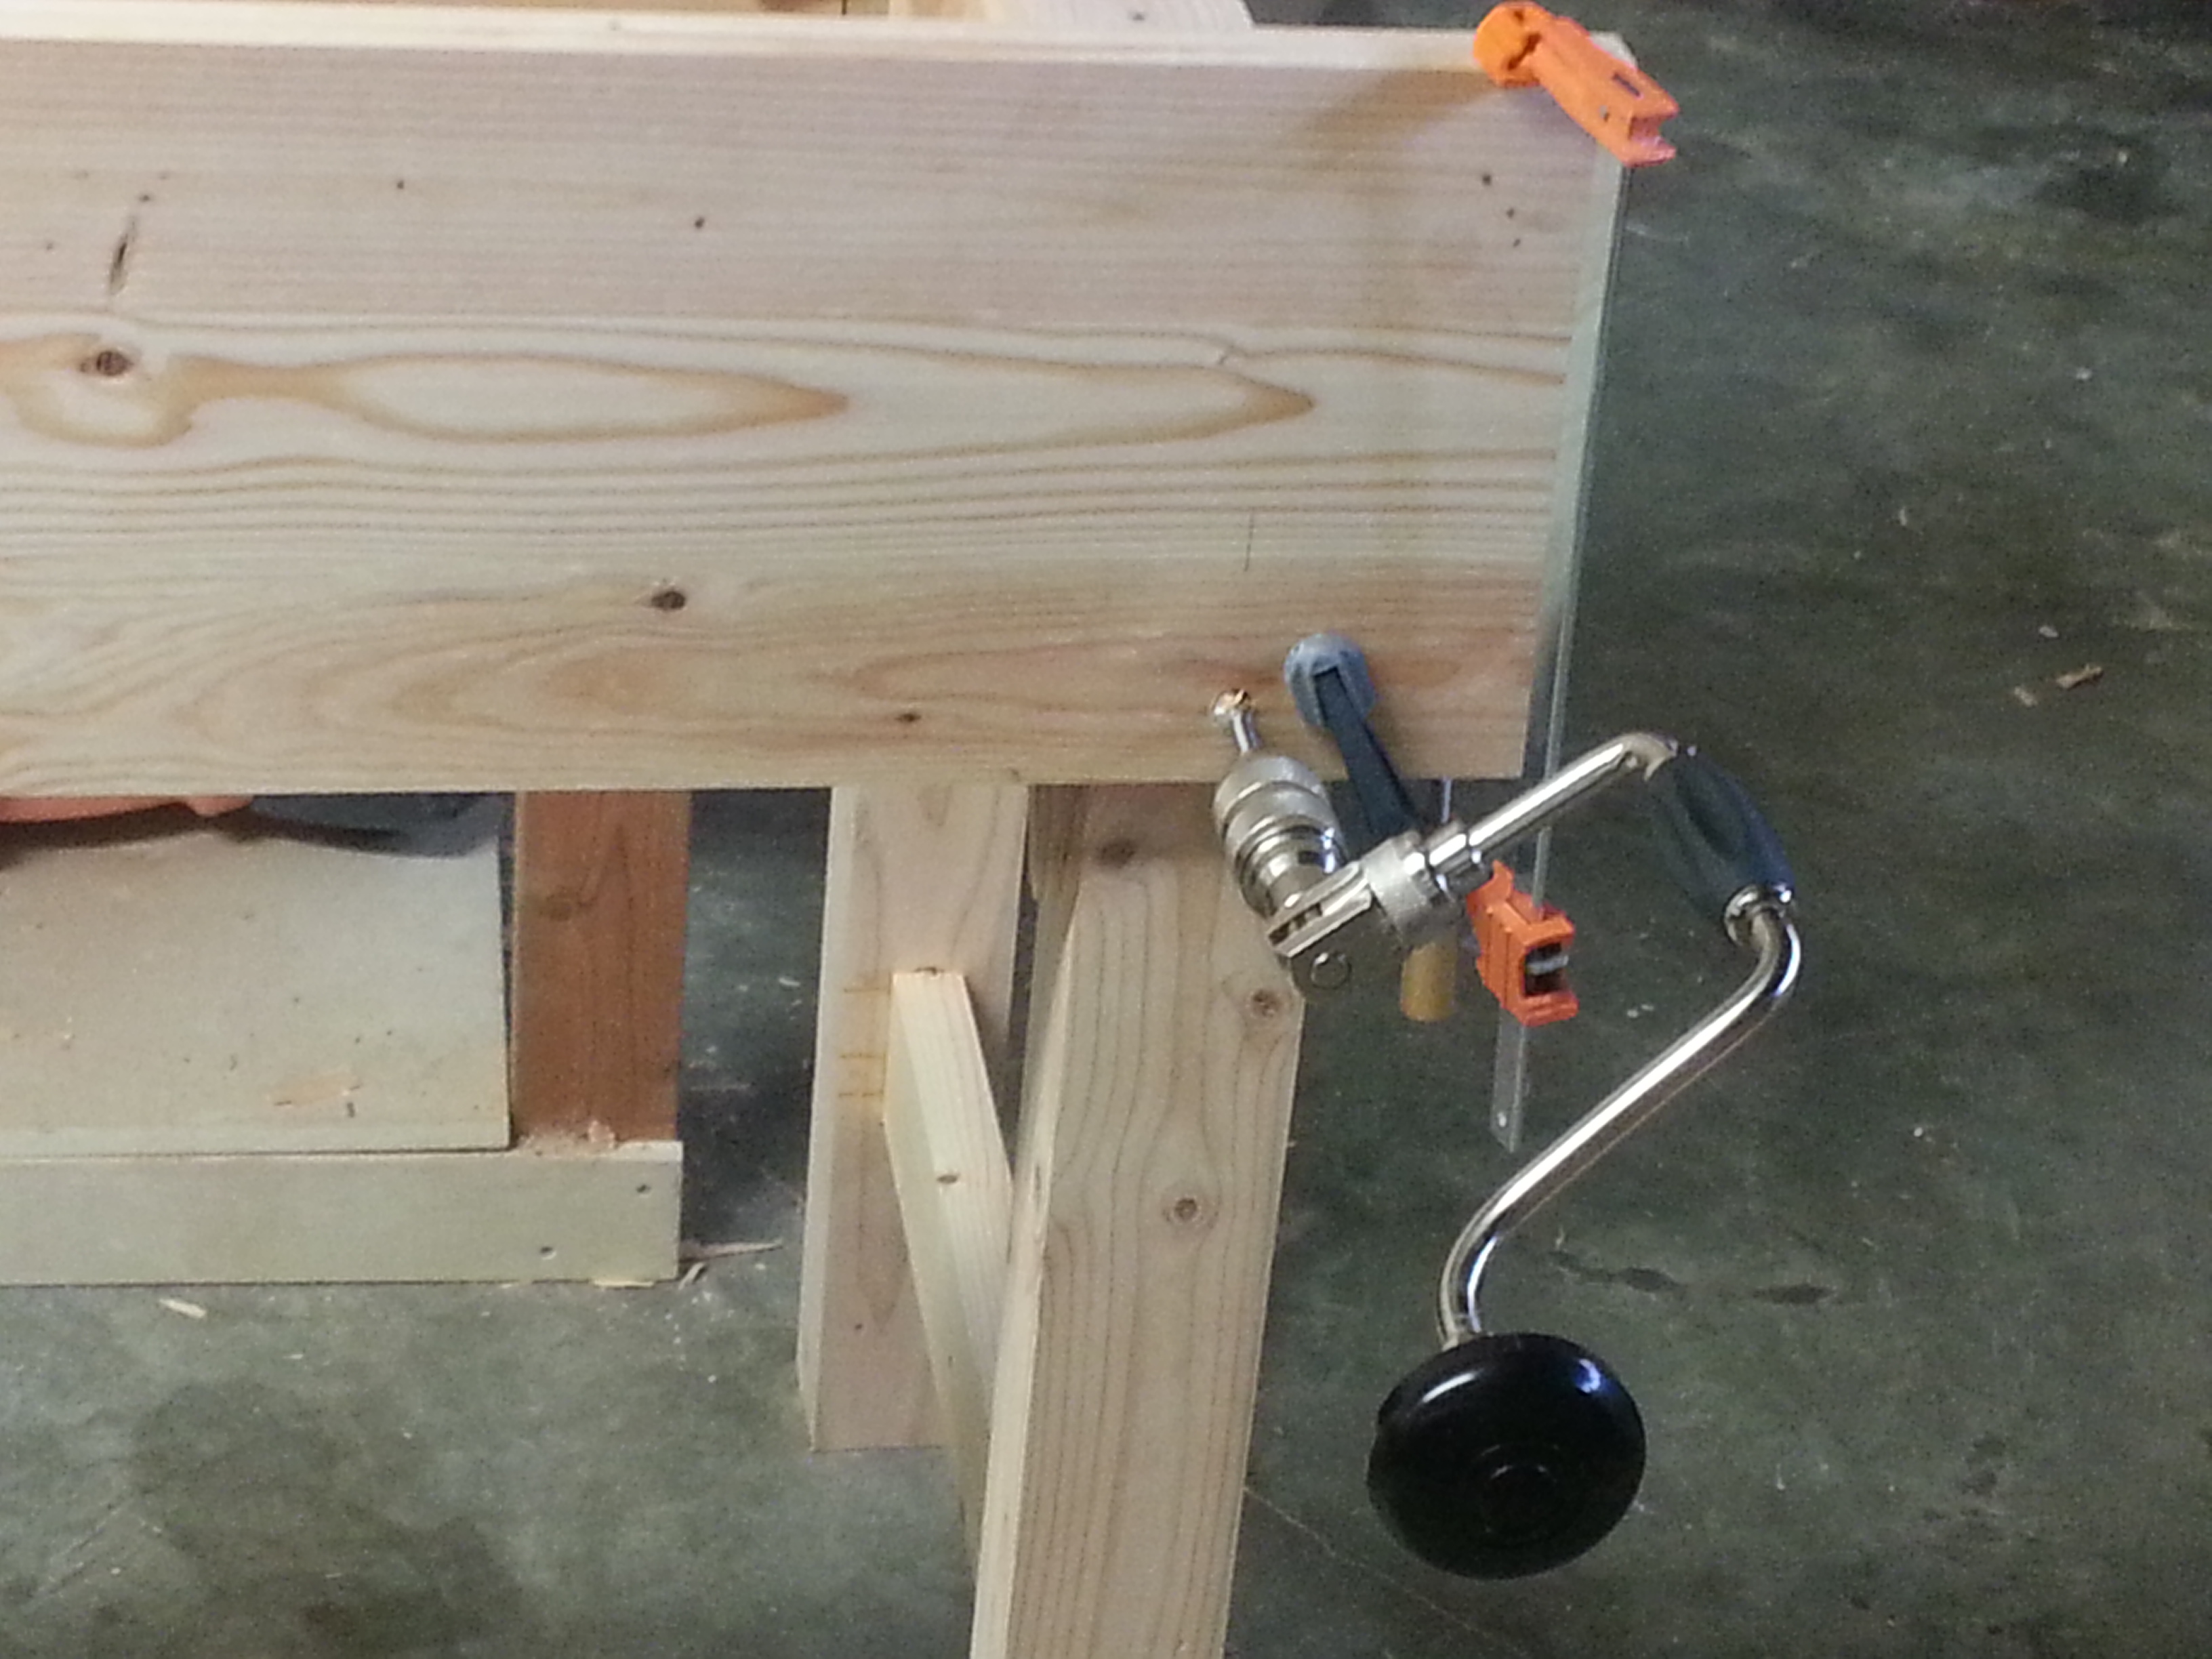
I used my brand new brace to drill the holes for the apron bolts. I should have recessed these from the start so I’ve got some tricky work ahead of me, probably involving some dowels in the existing holes to keep a forstner stable on the workpiece.
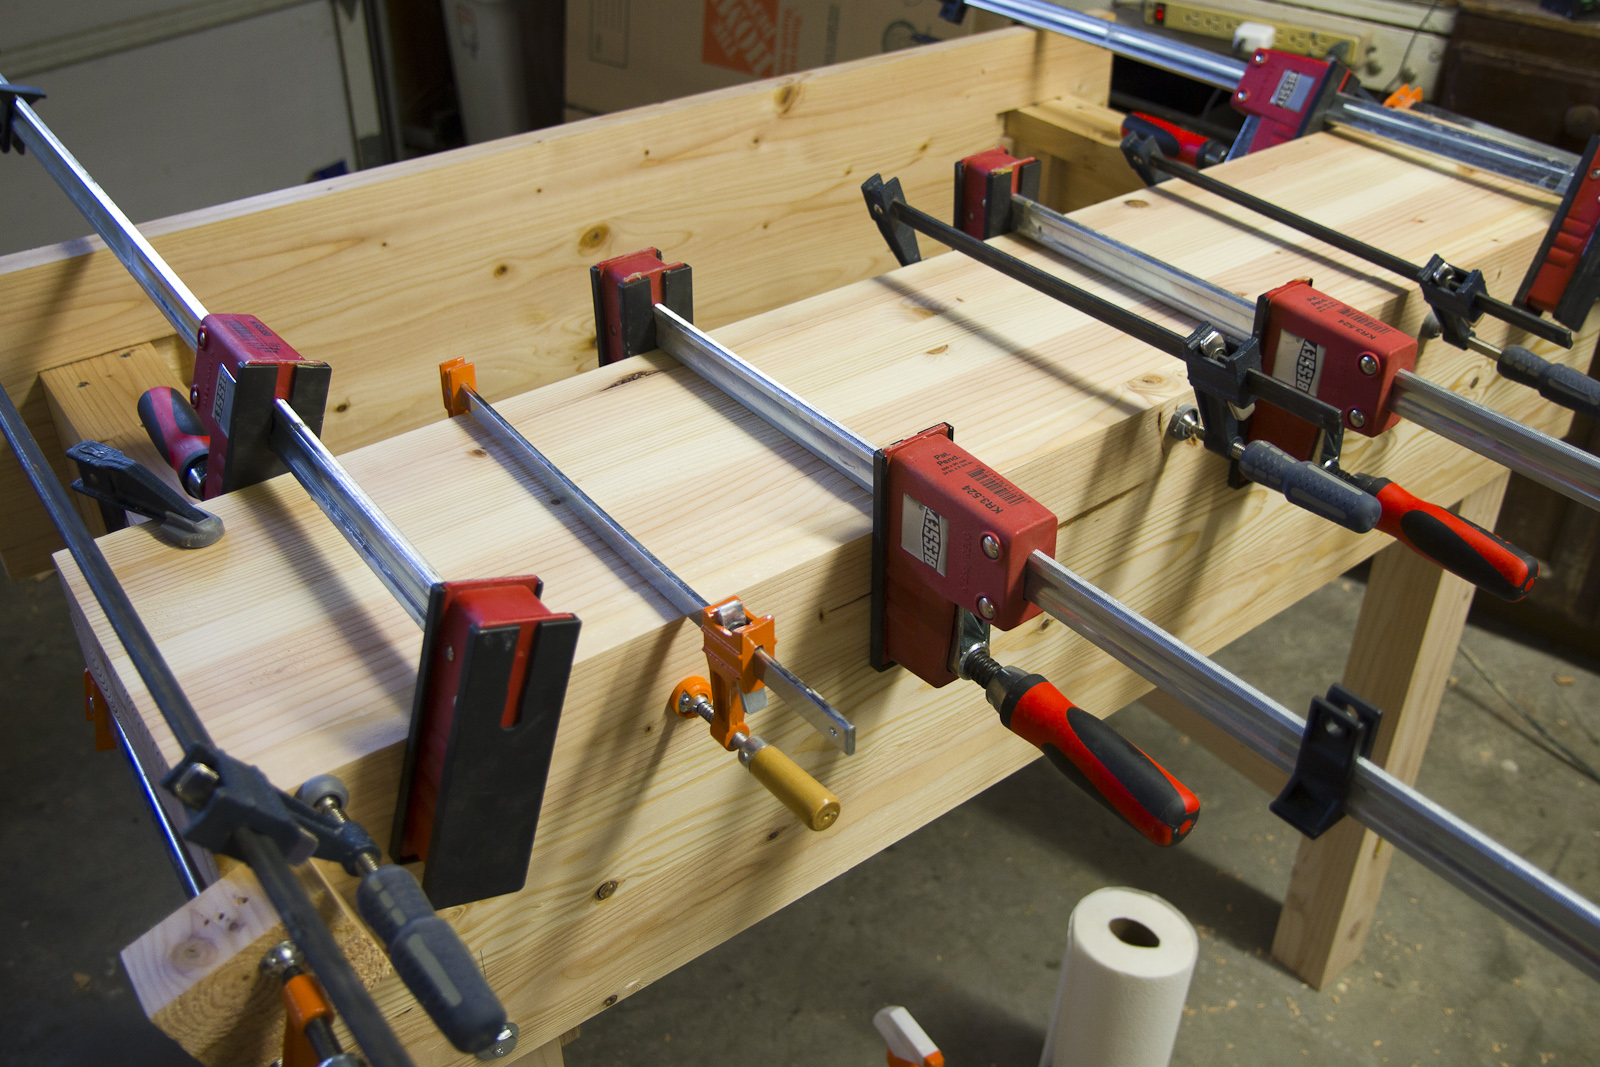
Here’s me gluing the tops to the aprons. I was patient and did this in two steps so I could use all my clamps for each one. I also took the time to ensure things were as square as possible first. Whenever I would walk by the bench in this state it was hard to not imagine it as a foosball table.
I wish I had more in progress pictures of the build. It was easy to forget, especially when you get into the zone chopping away.
Well, here’s how she looks today:

I’ll be adding a finish of danish oil to at least the legs and possibly the bench top. I haven’t decided yet. Also, I’ve got a vice on order from Lee Valley that will go through the apron you can see above.